This Quinoa (pronounced keen-wah) Salad is so good that I made it last week and I am right at this minute making it again. As I sit here writing this entry (in our newly painted 'study/office/drawing room',) the Quinoa is in the pot boiling, and the aroma is floating through the house. (I also have bread baking in the bread-maker, so my house basically smells like heaven.) This is another gem from the Podleski sisters (The Looneyspoons Collection.) On page 38 you will find Moroccan and Rollin' Quinoa Salad.
I have fallen in love with this particular seed for many reasons. One being you can do so much with it, another being it's delicious, and most importantly: it is a full protein! Janet and Greta have a nice little description of it that I will share here with you:
"Though commonly referred to as a grain, quinoa is actually a seed of the goosefoot plant, a relative of leafy green vegetables like spinach and Swiss chard. Once considered 'the gold of the Incas,' Aztec warriors used quinoa to increase their stamina. It's not wonder: quinoa is a nutritional powerhouse! It has twice the protein of brown rice and contains all nine essential amino acids (nutritional building blocks that help form proteins and muscle and other tissue) - rare in the plant kingdom. That's why quinoa is winning the popularity contest among vegetarians and others who don't want to eat meal 'til the cows come home. All that protein plus tons of fiber make it a waist-watcher's dream, a diabetic's dream, a cholesterol-lowering dream and... well... a dream come true for anone who wants to put the best possible fuel in their body. The tiny seeds can boost energy and also contain lots of magnesium that can help prevent high blood pressure and osteoporosis. As an added bonus, quinoa is gluten-free, ideal for those with Celiac disease or other grain sensitivities." (page 38 of The Looneyspoons Collection)
So there you go! One major tip when buying quinoa: make sure you get 'prewashed' or 'prerinsed' quinoa. It will say this on the package. If you don't you have to thoroughly strain it.
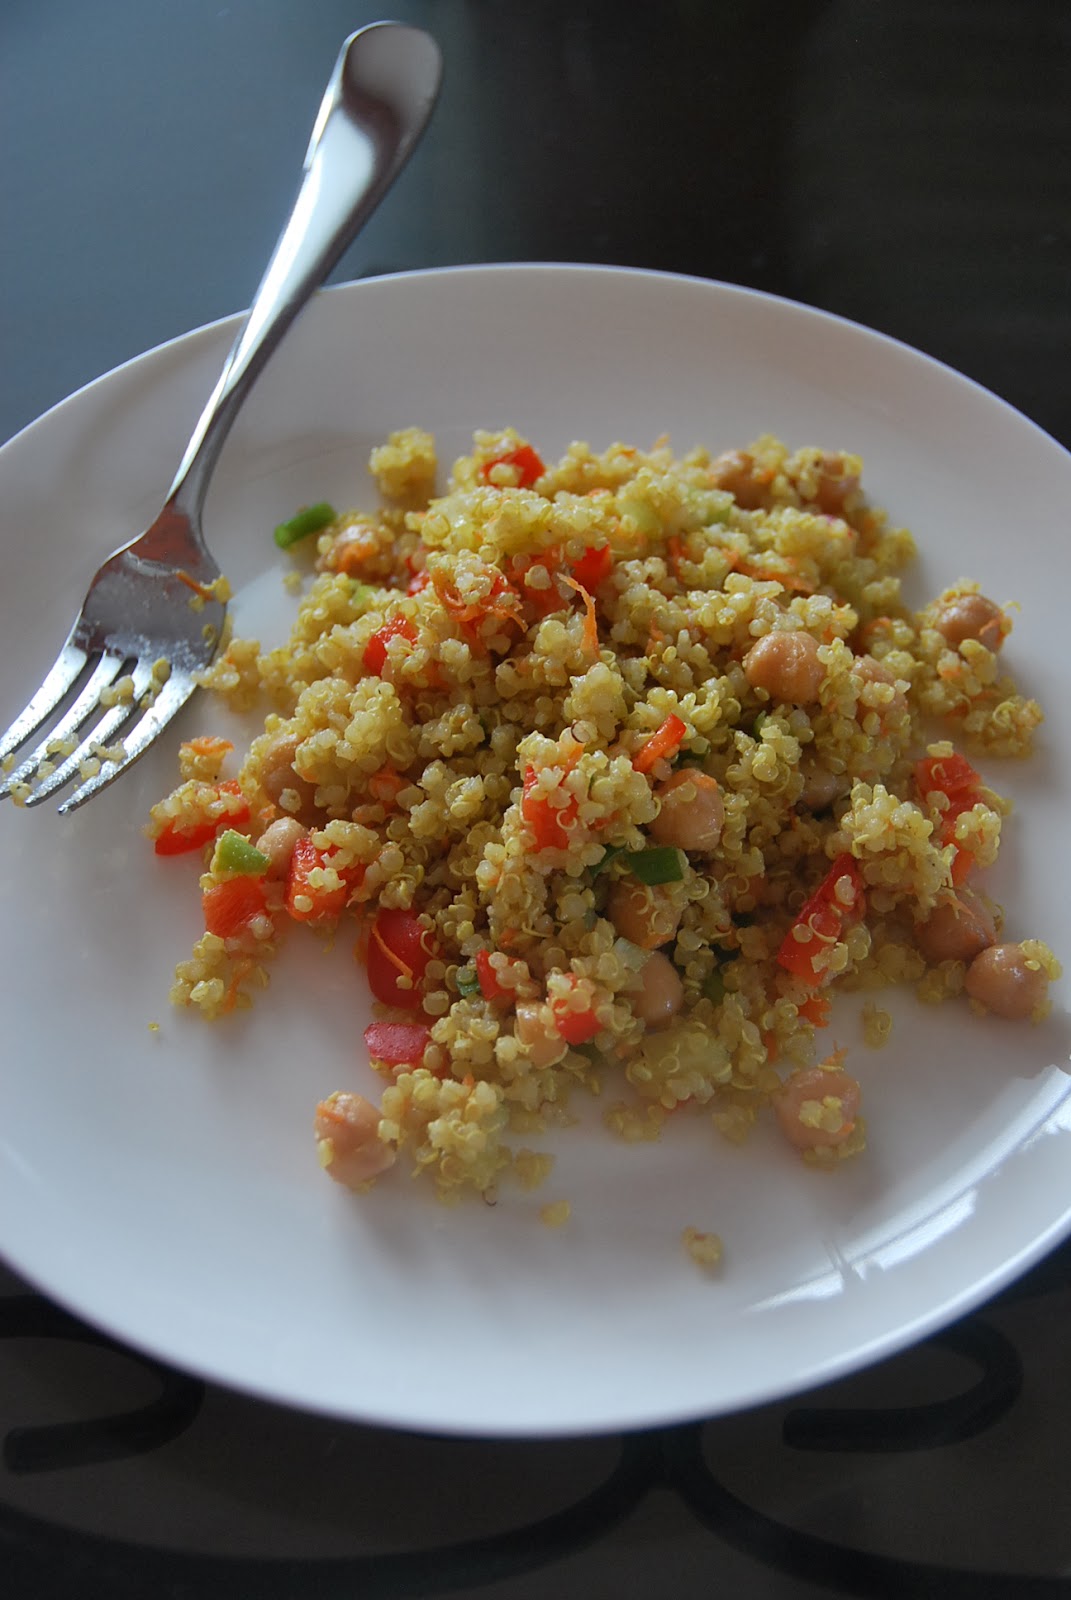
Moroccan and Rollin' Quinoa Salad
From Janet and Greta Podleski's The Looneyspoons Collection
1 cup uncooked quinoa
2 cups reduced-sodium vegetable broth
1/4 cup dried currants (I didn't do this)
1 tsp curry powder
1 tsp ground cumin
1/2 tsp ground coriander
1 tsp liquid honey
1/2 tsp salt
1 cup canned no-salt-added chickpeas, drained and rinsed
1/2 cup each finely chopped red bell pepper, grated corrotts and peeled, diced English cucumber
1/3 cup chopped green onions
2 tbsp olive oil
2 tbsp freshly squeezed lemon juice
2 tbsp minced fresh mint leaves
1/4/ tsp freshly ground black pepper
1. Combine quinoa, broth, currants, curry, cumin, coriander, honey and salt in a medium pot. Bring to a boil. Reduce heat to low, cover and simmer for about 20 minutes or until quinoa has absorbed all liquid. Remove from heat. Let stand covered for 10 minutes. Fluff with a fork and leave uncovered to cool completely.
2. When quinoa is cool, transfer to large mixing bowl. Stir in all remaining ingredients. Mix will and refrigerate for at least an hour or two before serving. Tastes even better the next day!
This salad I eat most days for lunch and also include some in Jason's lunch. (He loves it!) It will last me about a week. I will likely make a big batch of this before I go to Spain as part of Jason's 'meal plan' that I will be leaving him.
I can't wait to see/talk to you soon. Hopefully before I leave, but if not sometime shortly after I get back.
Love,
Sally*
*(my signature is on my other computer which is giving me some problems lately...)


